What is Sourdough Bread?
Sourdough bread is bread that has been leavened naturally, meaning it has been leavened by a sourdough starter as opposed to by commercial yeast or a chemical leavening agent such as baking powder or baking soda.
What is a Sourdough Starter?
A sourdough starter is a fermented mix of flour and water containing wild yeast and bacteria (lactobacilli). Provided it is healthy and active, a sourdough starter is what will make your bread rise.
Why This Sourdough Bread Recipe Works
I love baking sourdough bread because it’s as fun as it is tasty. Here’s why we know you’ll love it as much as we do!
- Beginner-friendly – If you’re new to sourdough baking, or just looking for a great, basic sourdough bread recipe, this is it!
- Easy to double – this recipe makes 1 loaf of bread, but it’s easy to double which is what I do weekly (the bread freezes so well!)
- Flexible timing – The final fermentation step before baking includes a long rest in the fridge (also called cold proofing). This final step gives you a 8 to 48 hour window to bake, making it easy to bake on your schedule.
Ingredients
• Active sourdough starter (100% hydration, fed and bubbly): 100 g
• Water: 375-400 g (start with 375 g if you’re new to high hydration; ~75-80%)
• Bread flour (high protein, 12-13%+): 500 g
(Optional upgrade: 400 g bread flour + 100 g whole wheat or rye for better flavor and structure)
• Salt: 10-12 g (~2%)
Step-by-Step Process (Total time: ~12-18 hours, mostly hands-off)
1. Autolyse (1-2 hours, or overnight)
Mix the flour + most of the water (reserve ~50 g for later). Stir by hand until no dry bits remain. Cover and rest. This builds gluten strength early.
2. Add starter + salt
Mix in the 100 g starter, remaining water, and salt. Knead or fold by hand (or use a stand mixer) until fully incorporated. The dough will be very sticky — that’s normal for high hydration.
3. Bulk fermentation + coil folds (3-5 hours at 24-26°C / 75-78°F)
Every 30-45 minutes, do 3-4 gentle coil folds: Wet your hands, lift the dough from the middle, let it stretch and fold under itself. Rotate the bowl and repeat.
Stop when the dough has increased 50-70% in volume, shows bubbles on top/sides, and feels airy but still slightly sticky.
4. Pre-shape
Gently turn the dough onto a lightly floured surface (minimal degassing!). Fold into a loose round (boule or batard). Rest 20-30 minutes (bench rest).
5. Final shape
Shape tightly into a boule or batard: Create surface tension by pulling the dough toward you while tucking edges underneath. Place seam-side up in a floured proofing basket (or bowl lined with a floured tea towel).
Tight shaping = better tension = bigger ear!
6. Cold proof (overnight in fridge, 8-16 hours)
Cover and refrigerate. This develops flavor, firms the dough for easier scoring, and helps with oven spring/ear formation. (Room-temp proof for 2-4 hours works too, but cold is better for big ears.)
7. Bake (Preheat oven to 250-260°C / 480-500°F with Dutch oven inside for 45-60 min)
• Turn dough onto parchment, score deeply: One long slash at 30-45° angle (not straight down) — this creates the dramatic ear.
• Transfer to hot Dutch oven, cover, bake 20-25 minutes at 250°C.
• Remove lid, lower to 220-230°C / 425-450°F, bake another 15-25 minutes until deep golden-brown/caramel crust (internal temp ~95-98°C / 203-208°F).
• Cool on rack at least 2 hours before slicing.
Tips for Big Ear + Super Open Crumb
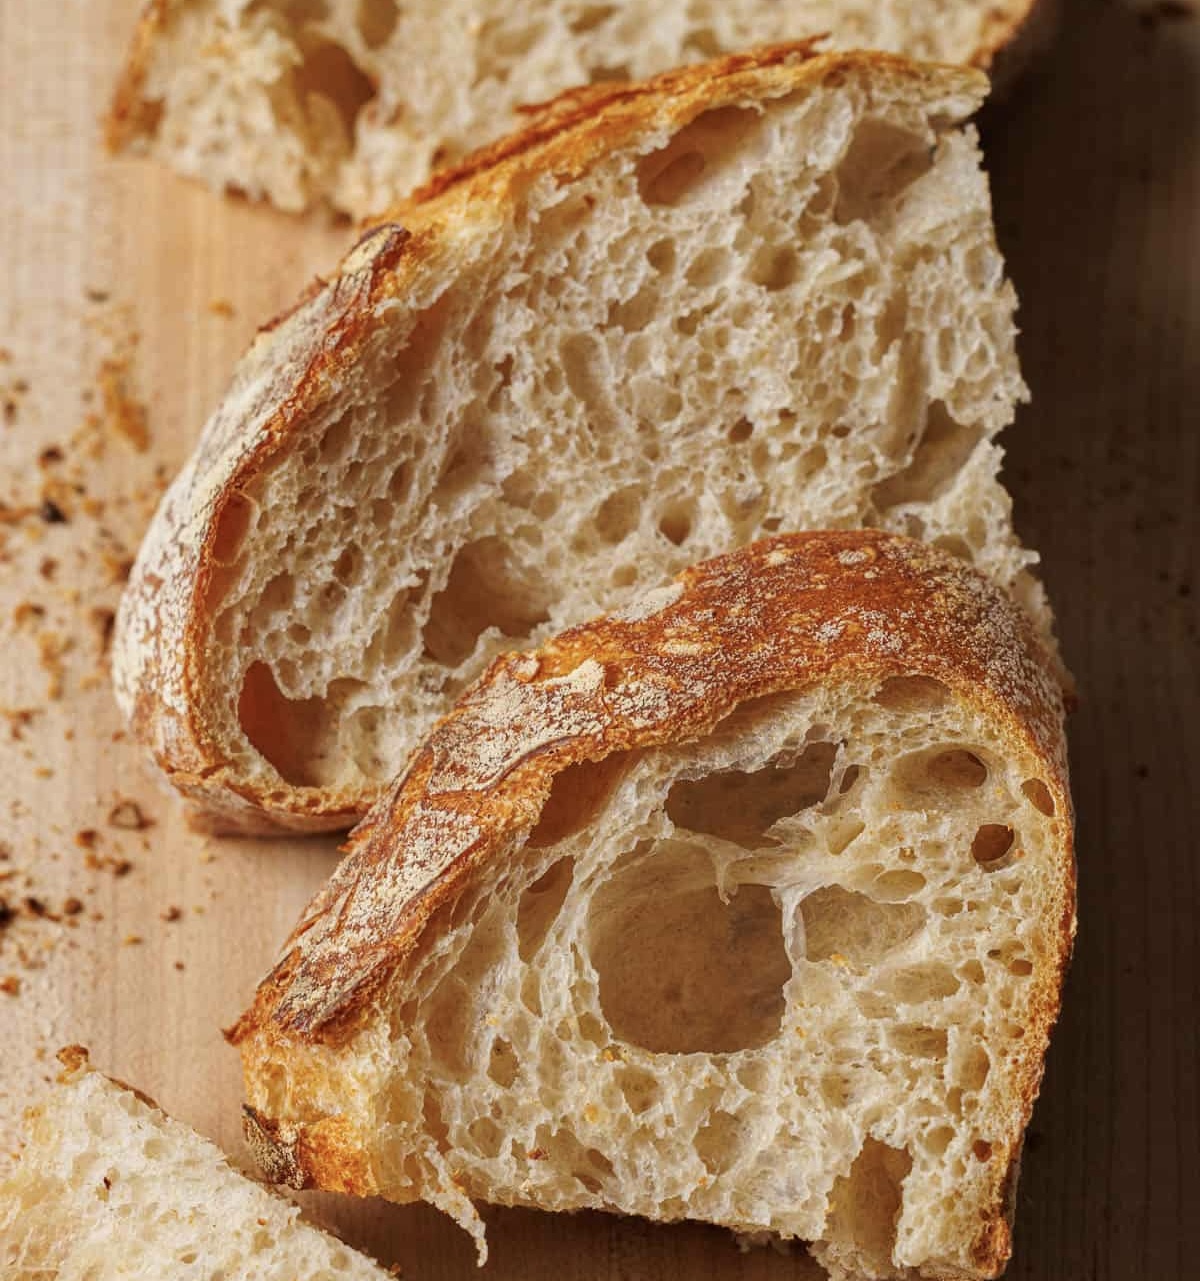
• High hydration (75%+) → airy holes inside
• Strong starter and good (but not over) fermentation → maximum gas
• Gentle handling — no punching down; preserve bubbles
• Tight shaping + shallow, angled scoring → dramatic ear
• Hot oven + steam (Dutch oven traps it) → explosive oven spring
• High-protein flour → holds structure without collapsing
• Avoid over-proofing (dough should spring back slowly when poked)