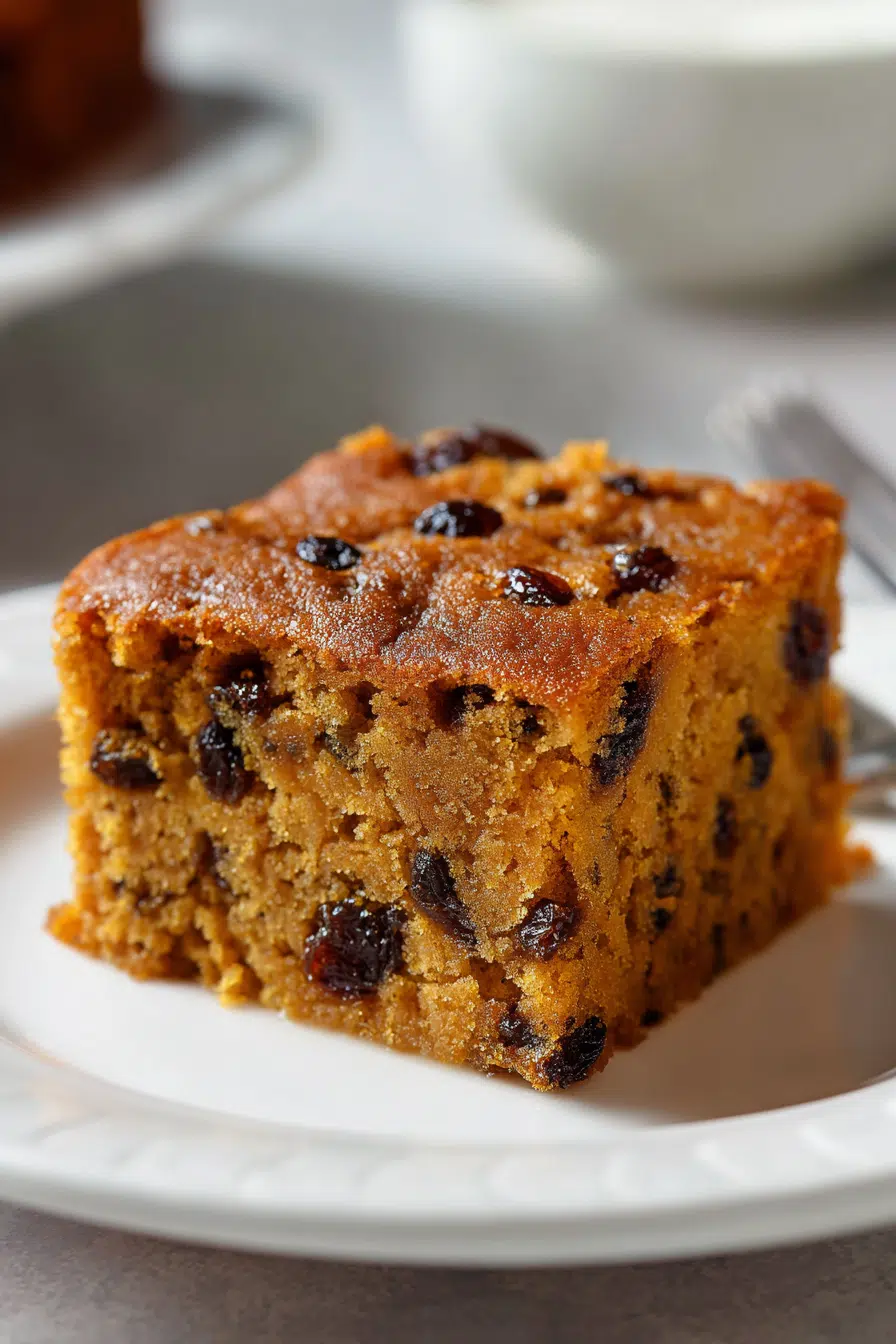
There’s something truly special about an Old-Fashioned Vintage Cake. It’s the kind of dessert that instantly transports you back to simpler times—when family recipes were handwritten on recipe cards, cakes cooled on wire racks by open kitchen windows, and Sunday afternoons meant gathering around the table with the people you loved most.

Growing up, vintage cakes always seemed to appear during life’s sweetest moments. Birthdays, family reunions, holidays, and even ordinary weekends somehow felt more memorable when there was a homemade cake sitting proudly on the counter. The aroma of butter, vanilla, and sugar baking in the oven would fill the entire house, creating the kind of comfort that no store-bought dessert could ever match.
What makes this easy Old-Fashioned Vintage Cake so wonderful is its simplicity. There are no complicated techniques or hard-to-find ingredients. Just classic pantry staples coming together to create a tender, moist cake with a rich buttery flavor that tastes exactly like the cakes our grandmothers used to bake.
Whether you’re looking for a nostalgic dessert for family dinner, a classic cake for holidays, or simply craving an old-school homemade treat, this timeless recipe delivers every single time.
WHY YOU’LL LOVE IT
Perfectly Moist and Tender
The combination of butter, milk, and eggs creates a soft crumb that stays moist for days without becoming dense or heavy.
Simple Pantry Ingredients
Everything you need is likely already sitting in your kitchen, making this an easy Old-Fashioned Vintage Cake recipe to whip up anytime.
Beginner-Friendly
No fancy decorating skills or special equipment required. Even first-time bakers can achieve beautiful results.
Classic Homemade Flavor
Rich butter, sweet vanilla, and a delicate crumb create the traditional taste people remember from childhood.
Perfect for Any Occasion
Serve it for birthdays, holidays, family gatherings, afternoon coffee breaks, or casual weeknight desserts.
Easy to Customize
Dress it up with frosting, berries, powdered sugar, or enjoy it plain with a cup of coffee or tea.
INGREDIENT NOTES & DETAILS
All-Purpose Flour
Provides the structure for the cake. Measure carefully using the spoon-and-level method to avoid a dense texture.
Baking Powder
Creates lift and helps achieve that classic fluffy vintage cake crumb.
Salt
Enhances all the flavors and balances the sweetness.
Unsalted Butter
Use high-quality butter for the richest flavor. Room-temperature butter creams more easily and creates a lighter cake.
Granulated Sugar
Provides sweetness while helping create a tender texture.
Large Eggs
Bring structure, moisture, and richness to the batter. Room-temperature eggs blend more smoothly.
Pure Vanilla Extract
A key ingredient in any classic vintage cake. Use pure vanilla for the best flavor.
Whole Milk
Adds moisture and richness. You may substitute 2% milk if needed.
Powdered Sugar (Optional)
Perfect for a simple vintage presentation without elaborate frosting.
Fresh Berries (Optional)
Strawberries, raspberries, or blueberries add color and freshness when serving.
STEP-BY-STEP INSTRUCTIONS
STEP 1: PREPARE THE OVEN AND PAN
Preheat the oven to 350°F (175°C).
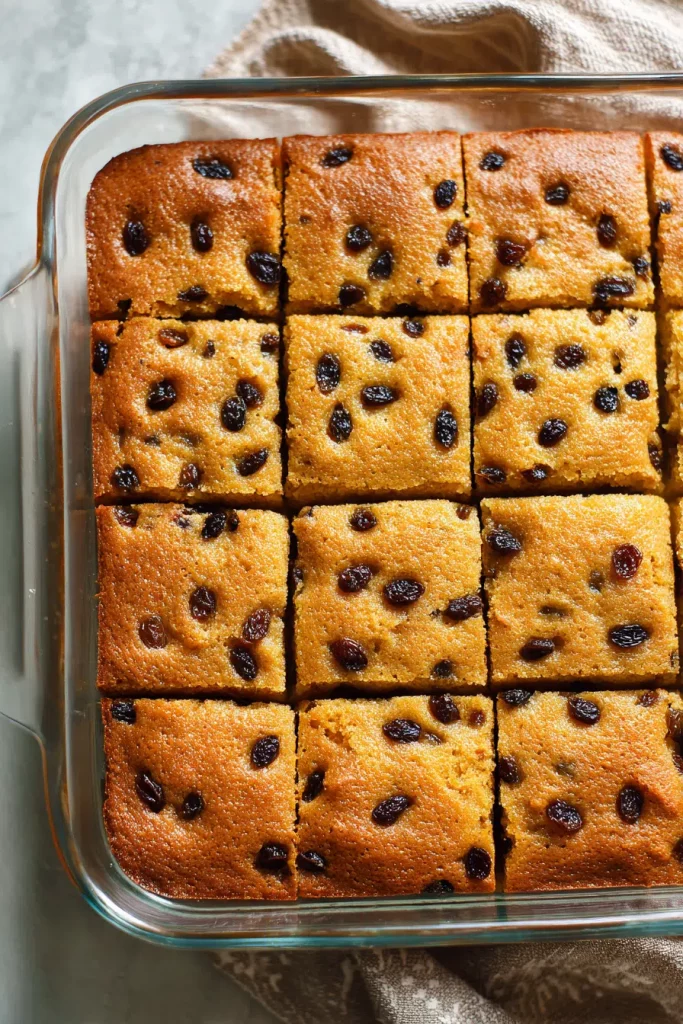
Grease and flour a 9-inch round cake pan or an 8-inch square baking dish.
For extra insurance against sticking, line the bottom with parchment paper.
Allow the oven to fully preheat before baking.
STEP 2: COMBINE THE DRY INGREDIENTS
Whisk together the flour, baking powder, and salt in a medium bowl.
Mix thoroughly so the leavening agent is evenly distributed throughout the flour.
Set aside while preparing the wet ingredients.
STEP 3: CREAM THE BUTTER AND SUGAR
Beat the butter and sugar together in a large mixing bowl.
Use an electric mixer on medium speed for about 3 to 5 minutes.
The mixture should become pale, light, and fluffy.
This step is crucial because it incorporates air into the batter, helping create a soft texture.
STEP 4: ADD THE EGGS
Add the eggs one at a time.
Mix well after each addition.
Scrape down the sides of the bowl as needed.
The batter should appear smooth and creamy.
STEP 5: ADD VANILLA
Mix in the vanilla extract.
The batter will immediately develop that classic homemade cake aroma.
Continue mixing until fully incorporated.
STEP 6: ALTERNATE DRY INGREDIENTS AND MILK
Add the flour mixture and milk gradually.
Begin with one-third of the flour mixture.
Follow with half of the milk.
Repeat the process until all ingredients are incorporated.
Mix only until combined.
Avoid overmixing, which can make the cake tough.
STEP 9: COOL PROPERLY
Allow the cake to cool in the pan for about 10 minutes.
Carefully transfer to a wire rack.
Let cool completely before serving or decorating.
STEP 10: FINISH AND SERVE
Dust with powdered sugar for a traditional vintage appearance.
Serve plain or garnish with fresh berries and whipped cream.
Old-Fashioned Vintage Cake
This Old-Fashioned Vintage Cake is a timeless dessert that brings back the comforting flavors of homemade baking. With its tender, buttery crumb and classic sweetness, this nostalgic cake is perfect for family gatherings, afternoon coffee breaks, or any occasion that calls for a simple yet elegant treat. Easy to make and wonderfully satisfying, it’s a recipe you’ll want to keep for generations.
Prep Time: 20minutes minutes
Cook Time: 40minutes minutes
Total Time: 1hour hour
Weight Watchers-Friendly Vanilla Buttermilk Cake
Makes: 12 servings
Ingredients
For the Cake
- 1½ cups (180 g) all-purpose flour
- ½ cup (60 g) white whole wheat flour
- 1½ tsp baking powder
- ½ tsp baking soda
- ½ tsp salt
- ¼ cup (56 g) light butter, softened
- ½ cup (100 g) granulated sugar
- ¼ cup (60 g) unsweetened applesauce
- 2 large eggs
- 1 tsp vanilla extract
- 1 cup (240 ml) low-fat buttermilk
Optional Light Glaze
- ½ cup (60 g) powdered sugar
- 2 tbsp skim milk
- ½ tsp vanilla extract
Instructions
- Preheat oven to 350°F (175°C).
- Mix flours, baking powder, baking soda, and salt.
- Beat butter, sugar, and applesauce until smooth.
- Add eggs and vanilla.
- Alternate adding dry ingredients and buttermilk.
- Pour into an 8-inch (20 cm) baking pan coated with cooking spray.
- Bake 25–30 minutes or until a toothpick comes out clean.
- Cool completely before adding the glaze.
Estimated Weight Watchers Points
- Without glaze: about 4 Points per slice (12 slices)
- With glaze: about 5 Points per slice (12 slices)