Bacon in the Oven – My entire childhood, Saturday mornings began when I smelled a skillet of bacon cooking on the stove. But many years ago, I changed the way I cook bacon, because I discovered cooking bacon on the stove is not the best way to do it.
Here’s why you should bake your bacon in the oven instead!
My entire childhood, Saturday mornings began with the distinct sound and smell of a skillet of bacon sizzling on the stove. While that nostalgic aroma is unbeatable, the messy grease splatters on the countertops, unevenly cooked strips, and constant babysitting at the stove left much to be desired. Many years ago, I fundamentally changed my approach to this breakfast staple. I discovered that cooking bacon on the stove is simply not the optimal way to do it. The secret to perfectly crisp, flawlessly flat, and evenly cooked strips lies in your oven.
Whether you are preparing a large weekend brunch for the family, doing meal-prep for the busy week ahead, or looking for the best method to achieve picture-perfect bacon for your culinary creations, baking it is a complete game changer. Not only does it free up your stovetop for eggs and pancakes, but it also provides a much cleaner, safer, and more consistent cooking environment. By shifting from the skillet to the oven, you eliminate the hassle while significantly improving the final result.
THE COLD OVEN METHOD EXPLAINED
One of the most critical secrets to achieving the perfect texture is utilizing the “cold oven” method. Unlike most baking recipes that require a fully preheated environment, bacon benefits tremendously from a gradual rise in temperature. When you place bacon into a cold oven and then set it to 375°F (190°C), the fat begins to render slowly as the ambient heat steadily increases
Rendering is the culinary process of melting and clarifying hard animal fat. When cold bacon is thrown into a screaming hot stovetop skillet, the proteins seize up quickly, causing the meat to curl aggressively and the edges to burn while the interior fat remains chewy and undercooked. By gradually bringing the bacon up to temperature in the oven, the fat melts away gently, essentially basting the meat in its own juices. The result is a beautifully flat, evenly crisped strip that shatters perfectly when you bite into it. This gradual rendering technique is exactly how high-end restaurants achieve those structurally perfect, editorial-quality strips of bacon for their premium breakfast sandwiches and burgers.
INGREDIENTS
- 12 strips Bacon Standard or thick-cut
- ½ teaspoon Ground black pepperOptional
- Equipment Needed:
- Rimmed baking sheet Half-sheet pan
- Oven-safe wire baking rack Optional, but recommended
- Aluminum foil or parchment paper
INSTRUCTIONS
- Prep the Baking Station: If you have an oven-safe wire baking rack, place it inside a rimmed sheet pan. For easier clean-up, line the bottom of the sheet pan with aluminum foil first. Lay out the bacon strips in a single layer on the wire rack (or directly on the foil/parchment if not using a rack). Ensure the strips do not overlap to guarantee even airflow. Sprinkle with ground black pepper, if using.
- The Cold Bake: Place the baking sheet with the bacon directly into a cold oven. Set the oven temperature to 375°F (190°C).
- Bake and Monitor: Bake the bacon for 15-20 minutes total. If you are baking multiple pans, rotate them from the top rack to the bottom rack halfway through the cooking time. If you are baking directly on foil without a wire rack, use tongs to gently flip the strips halfway through to ensure even crisping.
- Check for Doneness: Begin monitoring the bacon closely around the 18-minute mark. Cooking times will vary depending on the fat content and thickness of your specific brand. The bacon is done when it achieves a dark tan color and the fat is rendered. (Note: If using thick-cut bacon, plan to cook for an additional 5 to 10 minutes.)
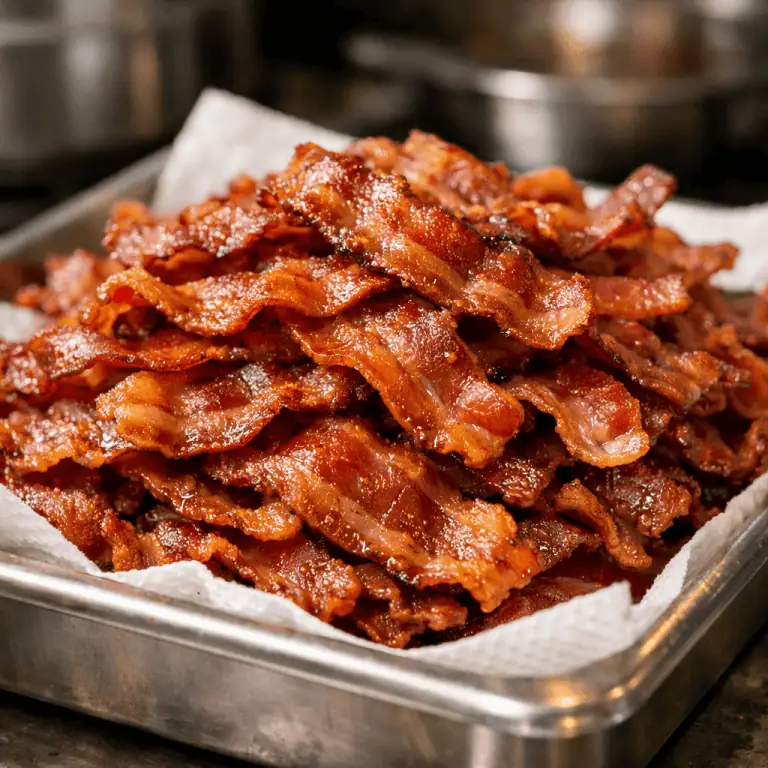
- Drain and Cool: Remember that bacon will continue to crisp up as it cools down. Once removed from the oven, immediately use tongs to transfer the hot strips to a plate lined with paper towels to drain excess grease.
- Save the Grease: Allow the remaining bacon grease in the pan to cool slightly, then carefully pour it into a heat-proof jar to save for future cooking.